Testing & monitoring
Screenshot Testing: How to Catch UI Regressions with Baseline Captures
July 5, 2026 · 6 min read · Grabbit Team
Screenshot testing captures an image of your web UI in a known-good state, saves it as a baseline, and diffs every later build against it. When the new capture differs beyond a set tolerance, the test fails and hands you a visual diff. That is the whole idea, and it catches a class of bug that functional tests sail past: a functional test confirms a button exists in the DOM, but only a screenshot confirms the button is not sitting on top of the headline in white-on-white. This guide covers how the practice works for web apps and CI, the traps that make teams give up on it, and where a hosted render fits. (The same technique exists for native mobile UI via tools like Compose Preview screenshot tests, but the setup and tradeoffs below are the web ones.)
What screenshot testing actually checks
A functional test asserts behavior: the form submits, the count increments, the element is present. All of those can pass while the page looks broken. A screenshot test asserts appearance: it renders the UI, captures a pixel image, and compares that image to a stored baseline.
The loop is three steps:
- Baseline. Render the UI in a known-good state and save the capture as the reference image. This is the "approved" look.
- Compare. On the next run, capture a fresh image of the same state and diff it against the baseline, pixel by pixel or structurally.
- Resolve. If the difference exceeds your tolerance, the test fails and produces a diff. You either fix the regression or, if the change was intentional, accept the new capture as the updated baseline.
Because the output is an image, screenshot testing catches things no assertion would think to check: a font that failed to load, a margin that collapsed, an icon that shifted two pixels, a dark-mode token that leaked into light mode. Those are the "looks done but is broken" bugs, and they are exactly the ones that reach users because every green test said the build was fine.
Screenshot testing vs snapshot testing
These get conflated, so it is worth pinning down. Snapshot testing serializes the rendered DOM or component tree to text and diffs the text. Screenshot testing captures a real rendered image and diffs the pixels.
The distinction matters because they catch different failures. A CSS change that shifts a layout can leave the markup byte-for-byte identical, so a snapshot test passes while the page is visibly broken. A screenshot test sees the shift because it looks at the rendered result, not the source. When people say "the snapshot test passed but the UI is wrong," a screenshot test is the missing layer.
The traps: why teams abandon screenshot suites
The failure mode is not too few bugs caught. It is too many false positives, until the team learns to click "approve" on every diff without looking. Two causes account for most of it.
Non-deterministic content. Anything that changes between runs will fail a pixel diff: the current date, a live feed, a rotating testimonial, a randomized hero image, a CSS animation caught mid-frame. Freeze it. Mock the clock, stub the data, disable animations, and mask regions you genuinely cannot control. A screenshot test is only as good as how deterministic you can make the thing you are capturing.
Environment drift. This is the classic "passes locally, fails in CI." A baseline captured on your Mac will not match a Linux CI runner, because fonts, sub-pixel anti-aliasing, and shadow rendering differ across operating systems. The fix is twofold: generate baselines in the same environment that runs the comparison, and set a small pixel tolerance so anti-aliasing noise does not fail the build. Start strict, loosen only as far as you must, or you will mask the real regressions you built the suite to catch.
Where the tools fit
The mechanism is generic; the tooling wraps it. On the web, the common options are:
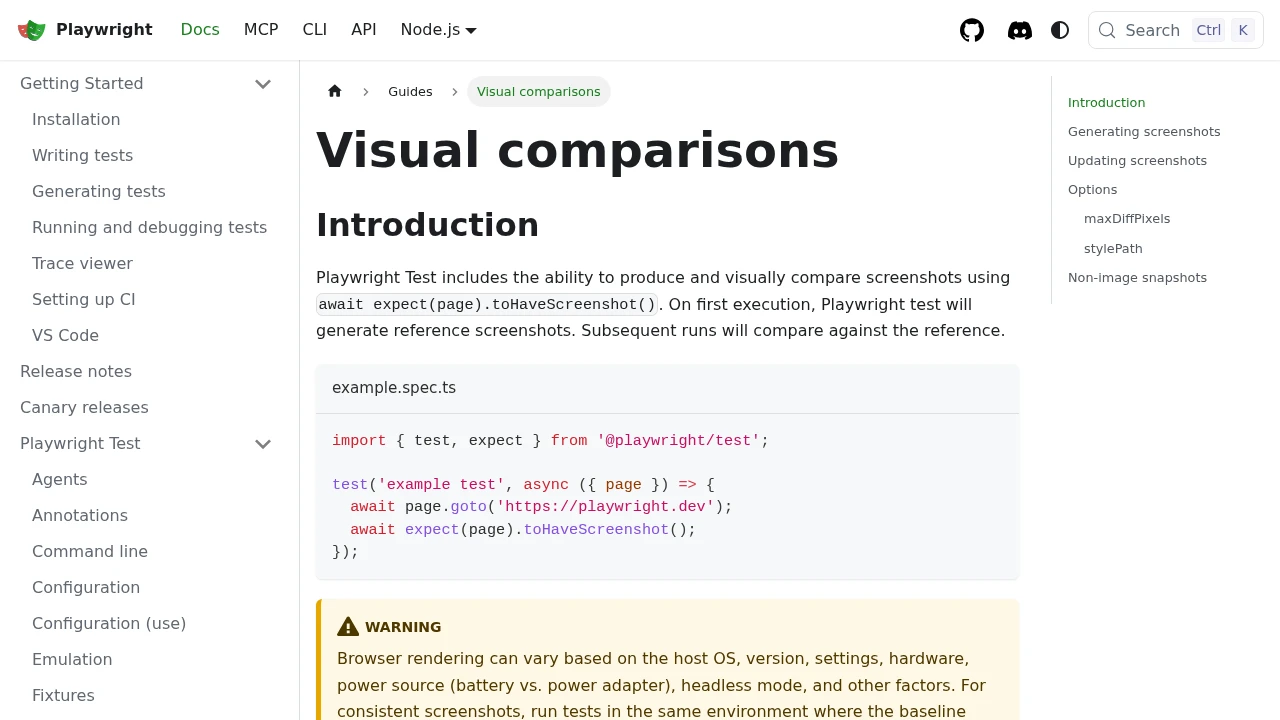
- Playwright has it built in via
toHaveScreenshot, which auto-waits for the page to settle and stores baselines alongside your tests. See our guide to Playwright visual regression testing for the full setup. - Percy, Chromatic, and Lost Pixel are hosted services that add baseline storage, a review UI, and cross-browser infrastructure on top of the same capture-and-diff loop.
- Jest snapshots cover the text-serialization side (DOM structure), not the pixel side.
All of them own the diffing, the assertions, and the pass/fail. What they need is a consistent, reproducible capture to feed the comparison.
Where a hosted render fits
A screenshot API does not replace your test runner's diffing. It fits in two narrow, real spots:
- Consistent, environment-independent baselines. Capturing a URL through a hosted browser fleet gives you the same render every time, on the same OS and fonts, so CI drift stops producing phantom diffs. The baseline is stable because the environment is fixed.
- Capturing pages outside the test suite. A live production page, a staging deploy, or a third-party page you do not control is a capture job, not a unit test. You loop those URLs through the API and store the results as reference images.
Here is a baseline capture as a single request:
curl https://api.grabbit.live/v1/grabs \
  -H "Authorization: Bearer sk_live_..." \
  -H "Content-Type: application/json" \
  -d '{
    "url": "https://example.com/pricing",
    "width": 1280,
    "full_page": true,
    "format": "png"
  }'
The response includes a hosted image you can store as the reference:
{
  "id": "grb_01jx...",
  "status": "done",
  "image_url": "https://cdn.grabbit.live/grabs/grb_01jx....png",
  "width": 1280,
  "format": "png",
  "bytes": 96420,
  "execution_ms": 1240
}
width accepts 320 to 1920, height 240 to 1080, full_page captures the whole page, and delay_ms (0 to 10000) lets content settle before the shot so lazy-loaded images and web fonts are in place when the capture fires. To be clear about scope: the API captures the images on a fixed, consistent render. The diffing, the tolerance, and the pass/fail stay in your test tool.
Putting it together
- Screenshot testing catches visual regressions functional tests miss, because it diffs the rendered image, not the DOM.
- Keep captures deterministic (freeze dates, data, and animations) and generate baselines in a consistent environment, or false positives will train your team to ignore the suite.
- Let your test runner own the diff; reach for a hosted render when you need a stable baseline source or need to capture pages that live outside the suite.
For the wider picture, see the practical guide to visual regression testing and the roundup of visual regression testing tools.
FAQ
- What is screenshot testing?
- Screenshot testing is an automated technique that captures an image of your UI in a known state, saves it as a baseline, and compares every later build against that baseline. If the new capture differs beyond a set tolerance, the test fails and shows a visual diff. It catches layout shifts, missing elements, and broken styling that functional tests pass right over, because a functional test checks that an element exists in the DOM, not that it renders correctly.
- What is the difference between snapshot testing and screenshot testing?
- Snapshot testing serializes the rendered DOM or component output to text and diffs the text. Screenshot testing captures an actual rendered image (a PNG) and diffs the pixels. Snapshot tests catch structural changes to markup; screenshot tests catch visual changes like a shifted button, a broken font, or an overlapping element that leaves the markup identical. For visual regressions, you want screenshot testing.
- Why do screenshot tests fail in CI but pass locally?
- Almost always because the rendering environment differs. A different OS, font set, GPU, or browser build produces sub-pixel anti-aliasing differences from your local baseline, and an exact-match comparison fails on noise that is not a real regression. Fix it by generating baselines in the same environment that runs the tests (commonly a CI container or a hosted render) and by setting a small pixel tolerance so anti-aliasing does not fail the build.
- How do you keep screenshot tests from producing false positives?
- Make the capture deterministic. Mock or freeze anything that changes between runs: dates, live data, animations, carousels, and randomized content. Mask regions you cannot control. Generate baselines in a consistent environment so fonts and shadows render the same every time. Set a maxDiffPixelRatio so minor anti-aliasing differences are tolerated. Deterministic input plus a small tolerance is what separates a useful suite from one everyone learns to ignore.
- Is screenshot testing the same as visual regression testing?
- The terms are used interchangeably. Screenshot testing is the mechanism (capture an image, diff it against a baseline); visual regression testing is the practice built on top of it (catching unintended visual changes across builds). If someone says one, they almost always mean the other.
Capture any website with one API call
Get a free test key and wire your first request in two minutes.
Written by
Grabbit Team
Screenshots as a service
The team behind Grabbit, the screenshot API for developers and AI agents. We write about web capture, rendering, and automating screenshots at scale.
Keep reading
Visual Regression Testing: A Practical Guide for 2026
What visual regression testing is, how the baseline-and-diff workflow works, the best tools, and how consistent screenshots keep your visual tests from going flaky.
Jun 11, 2026 · 4 min read
Playwright Visual Regression Testing: Catch UI Bugs in CI
Set up visual regression testing in Playwright with toHaveScreenshot: baselines, diff thresholds, the CI flake problem, and where a screenshot API fits as a stable baseline source.
Jun 17, 2026 · 5 min read
The Best Visual Regression Testing Tools (Open Source and SaaS)
A practical rundown of the best visual regression testing tools in 2026, open source and SaaS, plus how to feed any of them consistent screenshots of deployed URLs.
Jun 14, 2026 · 7 min read